

 1 Graystone Court, Epping Victoria 3076
 (+61) 3 8401 3691
 sales@mcc4x4.com



 Shop by Vehicle
 Find a Dealer


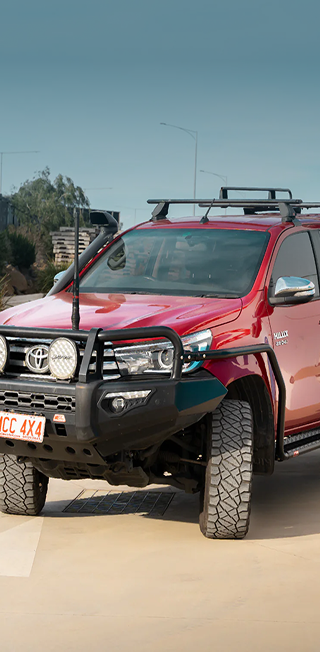
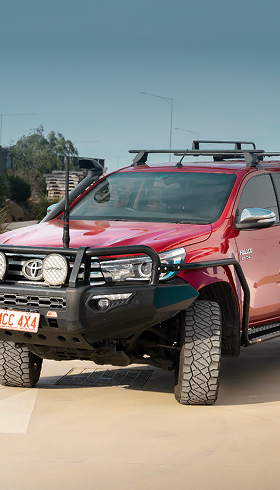
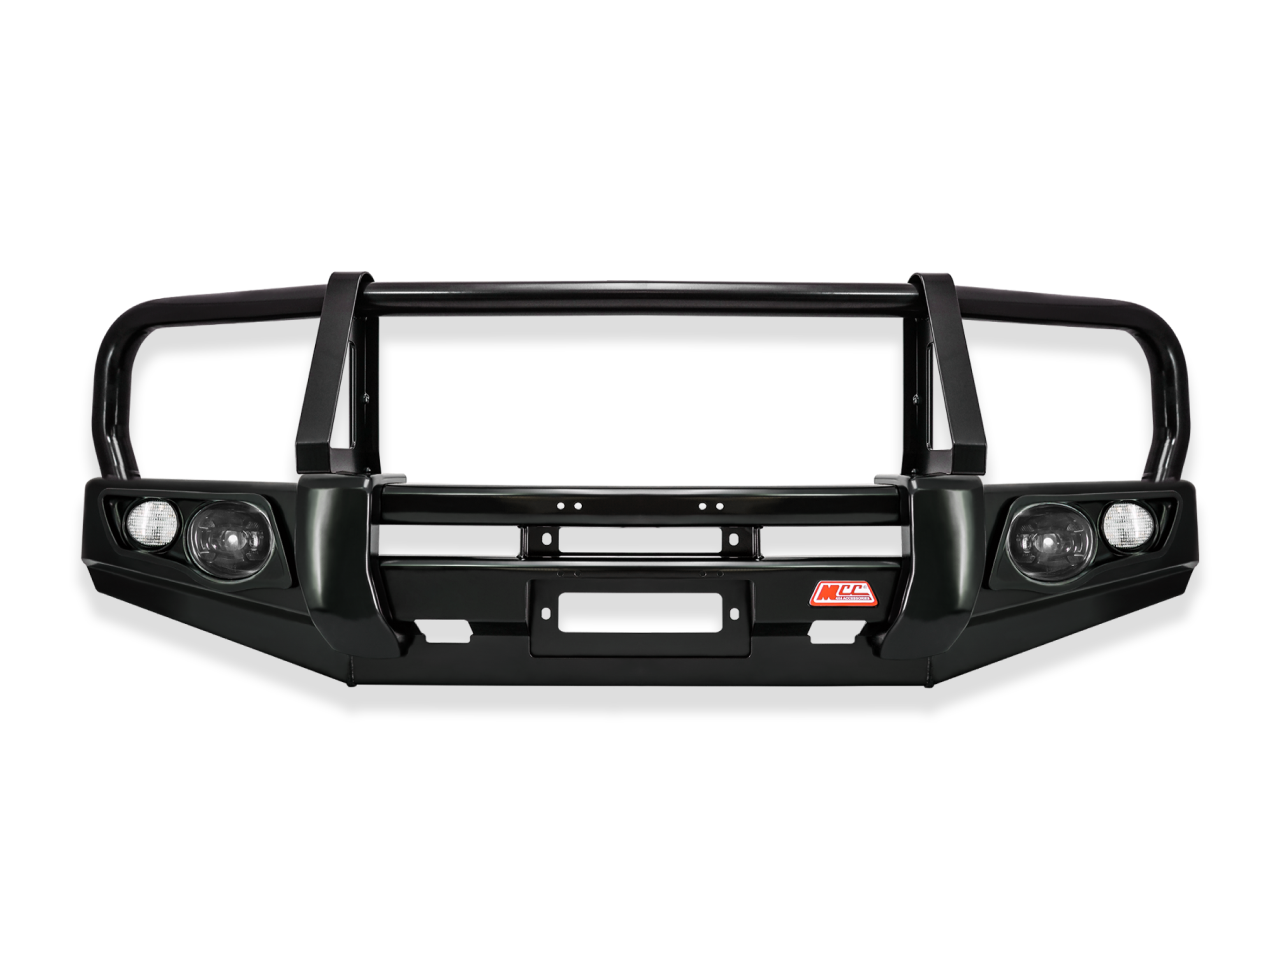
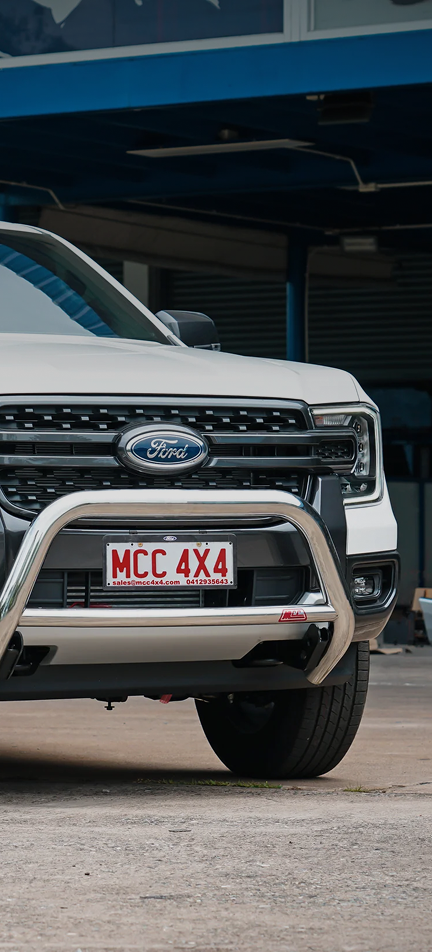
How to Install a Bull Bar on Your 4WD: A Practical Guide from MCC 4x4
If you’ve landed a GWM Tank 300, you already know the score. This thing turns heads in the school car park just as easily as it handles a rough fire trail. With a 5-star ANCAP safety rating, a 2.0L Turbo Plug-In Hybrid or 2.4L Turbo Diesel under the bonnet, and a 7-year unlimited kilometre warranty, the Tank 300 isn’t just a family SUV — it’s a proper adventure platform.
MCC's position: Professional installation is always recommended. But if you know your way around a socket set, a DIY install on a straightforward vehicle is achievable. When in doubt, use one of our 50+ dealers.

Before You Start: The Most Important Step
Before you touch the vehicle or unbox the bar, do this:
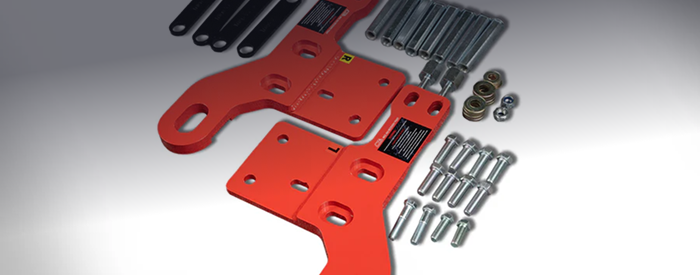
- Lay out all parts from the box and check them against the parts list
- Confirm you have the correct bar for your specific make, model, and year
- Read the entire fitting instruction from start to finish before beginning
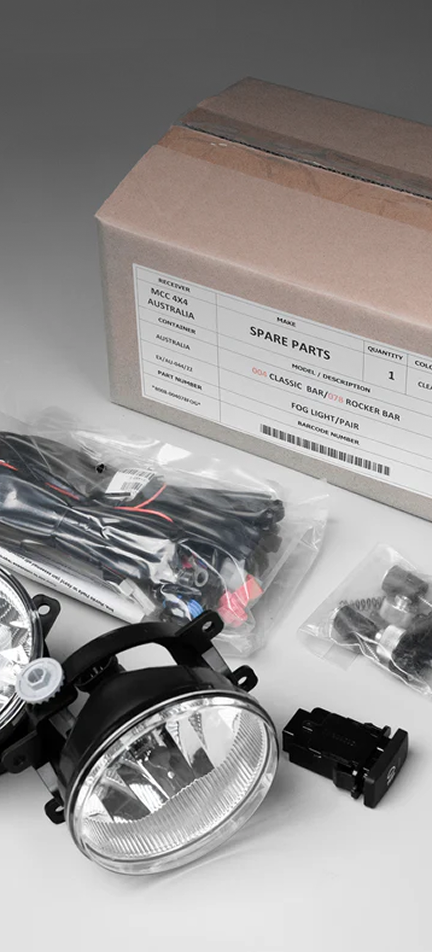
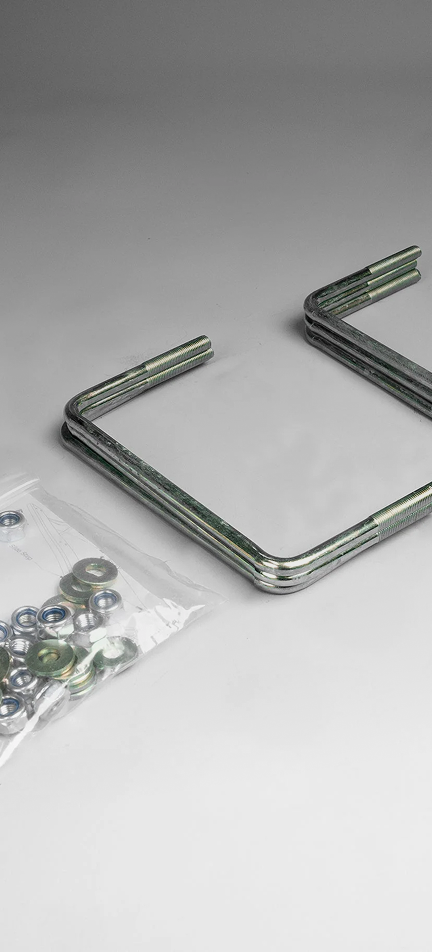
- Check that all hardware (nuts, bolts, brackets) is present — everything is included with MCC bars
Why does this matter? Because once you start disassembling your vehicle, you want to be 100% certain you have the right product and all the pieces. Finding a missing bracket when your bumper is off and you need the car the next morning is a situation worth avoiding.
Pro tip from MCC: Always read through the full procedure before you start. You need to understand the complete process so you know if you can commit to finishing it — and so your vehicle stays mobile if you decide to hand it to a professional midway through.
What Tools Do You Need?
For most MCC bull bar installations, you'll need:
● Socket set (metric) — most fasteners are M10 and M12
● Torque wrench — critical for getting fastener tension right
● Ratchet extension bars
● Trim removal tools — to remove plastic fascias without snapping clips
● Jack stands — to support the vehicle safely during work
● Wire crimpers and heat shrink — for any wiring connections
● Multimeter — to verify wiring before connecting
● Helping hands — this is a two-person job. A second set of hands makes the bar lift safe and manageable.
And yes, a beer for when you're done. You've earned it.

What Actually Comes Off the Vehicle?
People are often surprised by how much disassembly is involved. A typical front bar install requires:
● Full removal of the factory front bumper and fascia
● Removal of the plastic undertray and lower trims
● Removal of the factory chassis cross member (if applicable to your vehicle)
● Unplugging parking sensor wiring loom
● In some vehicles — disconnecting canbus connectors for grille cameras or proximity sensors
This is why tool preparation and reading the instructions first is so important. You need to know what's coming off before you start.
Step-by-Step Overview
Step 1 — Prepare and Read
Check all parts. Read all instructions. Confirm you have the right bar for your vehicle and all hardware is present.
Step 2 — Remove Factory Bumper
Remove all clips, bolts, and connectors securing the factory bumper. Work carefully — factory clips are often single-use and replacing them costs time and money.
Step 3 — Remove Cross Member (if required)
Some vehicles have a factory chassis cross member that must be removed to allow the MCC mounting brackets to attach. Instructions will specify this.
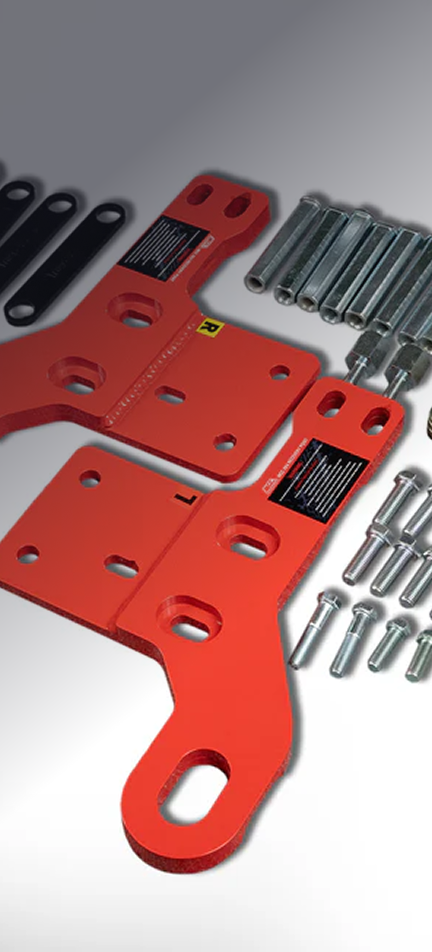
Step 4 — Fit Mounting Brackets
Attach the MCC-specific mounting brackets to the chassis. Do not fully torque at this stage — leave them snug for adjustment.
Step 5 — Lift and Position the Bar
With a second person, lift the bar into position on the brackets. This is the moment you'll appreciate having help — bull bars are heavy.
Step 6 — Fasten and Torque
Once positioned correctly, work through all fastener positions. Torque to the specification in the instructions — never guess on torque values for a safety component.
Step 7 — Relocate Parking Sensors
MCC bars come with pre-drilled holes for parking sensor relocation. Transfer sensors from the factory bumper to the new bar positions. If your vehicle requires an adaptor kit, fit it at this stage.
Step 8 — Wire Accessories
If you're fitting spotlights, a winch, or other accessories, complete all wiring now. Use the included wiring harness for lighting. Confirm all connections before buttoning up.
Step 9 — Test Everything
Before reassembling any trims: start the vehicle, check all warning lights are clear, test parking sensors, test any lights or accessories fitted. Fix any issues now — not after the trims are back on.
Step 10 — Refit Trims and Clean Up
Refit any lower trims and fascias that work with the new bar. Stand back and check the fitment is square and even before driving.

How Long Does Installation Take?
A professional fitter will complete a standard front bar install in 4–6 hours. For a competent DIYer, allow a full day — and if it's your first time, plan for two days. Don't rush a safety component. If you run into an unexpected complication late in the day and have to leave the vehicle disassembled overnight, that's a much better outcome than a rushed fitment.

When Should You Use a Professional?
MCC always recommends professional installation in these situations:
● Your vehicle has a complex canbus system or advanced driver assist technology
● The install involves winch mounting — correct torque and load rating matters
● You've never performed a vehicle disassembly of this scope before
● You don't have access to a torque wrench
● Your vehicle is under manufacturer warranty and you want to maintain it cleanly

Find Installation Videos on YouTube
MCC 4x4 has installation videos available on the MCC 4x4 Accessories YouTube channel — search for your vehicle to see if a walkthrough is available for your specific bar and model.

Ready to Get Your Bar On?
Whether you're going DIY or booking a professional fitment, start with the right product for your vehicle. Shop the full MCC range and filter by your make and model.

Frequently Asked Questions
Q: Can I install a bull bar myself?
A: Yes, if you have the mechanical skills and the right tools. MCC recommends reading the full instructions before starting and using a professional for complex vehicles.
Q: How long does a bull bar install take?
A: A professional takes 4–6 hours. Allow a full day for a first-time DIY install, and plan for two days to avoid rushing.
Q: What tools do I need to install a bull bar?
A: Socket set, torque wrench, trim removal tools, jack stands, wiring tools, and a second person to help lift the bar.
Q: Does MCC provide installation instructions?
A: Yes — comprehensive instructions are included with every bar, and guides are available online. The MCC team is also available for advice.